GARDEN PLOTS: Make indoor seed starting convenient for best results
Published 7:00 am Wednesday, January 17, 2024
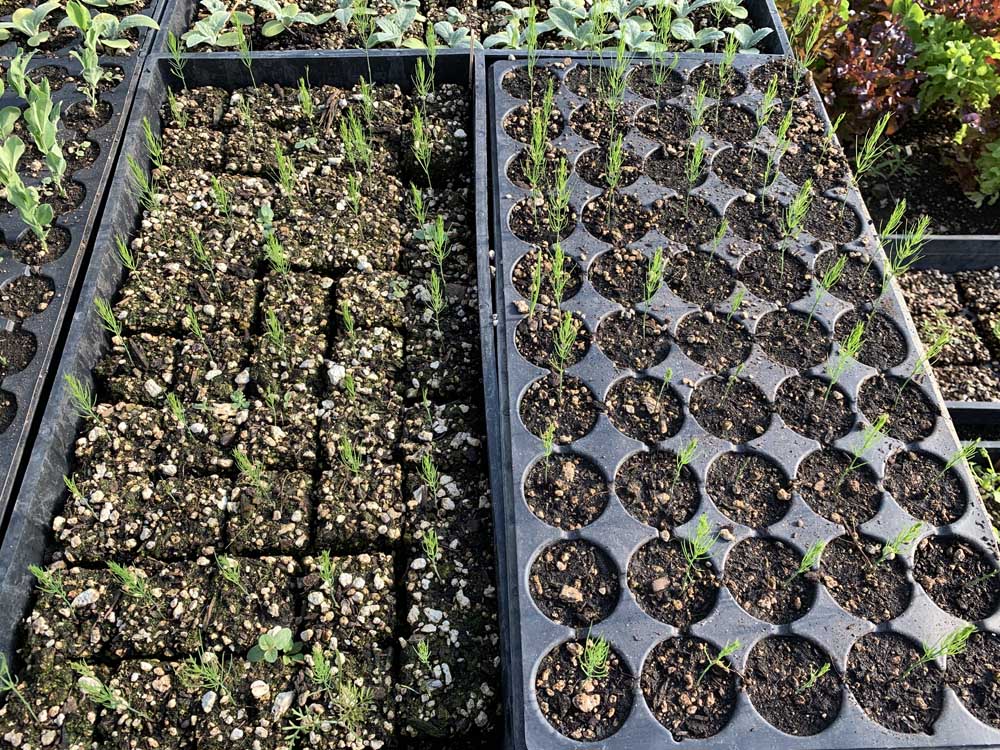
- These asparagus seedlings were planted in soil blocks, left, and cell trays.
“One of the most rewarding garden activities is, without a doubt, starting seeds…I start seeds indoors, in the comfort of my own home, where the temperature is consistent, and I have full control of the growing environment.”
— Luay Ghafari, “Seed to Table: A Seasonal Guide to Organically Growing, Cooking, and Preserving Food at Home,” 2023
I agree with Luay Ghafari about the pleasures of growing plants from seeds. When I was a young girl growing up in central Florida, I helped my dad take care of our raised vegetable beds after he planted seedlings that he bought at the nursery. Yet it wasn’t until much later when I started sowing seeds and watching the shoots emerge that I felt like a real gardener and became motivated to study how plants grow.
For several years, I’ve grown seedlings in a 12-foot-by-foot-20 greenhouse with mixed results. Most of my failures in the greenhouse have come about because of inconsistent temperatures. One year the electricity went out and most of my seedlings froze; another year we had an early heat wave and the seedlings fried. I have to admit that many of my seedling disasters have been due to my lack of attention — I simply didn’t make it out to the greenhouse often enough to monitor the seedlings effectively.
That’s why I’ve decided to do things differently this year. I’m turning my greenhouse into a chicken run (by replacing the old plastic with wire mesh) and setting up a seed-starting area in my sunroom, which is just two convenient steps away from my living room and where, as Ghafari says, “I have full control of the growing environment.”
The sunroom has south-facing windows in front of which my overwintering patio plants are quite happy, but to successfully grow seedlings, I’ll need supplemental lighting fixed to growing shelves (four- or five-tier wire racks work well). Ghafari recommends using LED shop lights at 6000-6500K (K stands for Kelvin value), which most closely replicates daylight hues. The lights should be the same length as the shelves, and the lights should be adjusted so they remain 2 inches above the seedlings.
My cool-weather crops won’t need heat mats, but I will use mats for starting warm-weather crops later on. I have two overhead fans in my sunroom to provide good air circulation, or a floor or table fan can be set up by the growing shelves, instead. I scanned the QR code on p. 276 to watch a brief video that shows Ghafari’s seed-starting shelves and light setup.
The author also shares his seed-starting method, which involves filling cell packs or trays 90 percent full of moistened growing medium. Ghafari uses a sterile organic seed starting mixture sold commercially, and I’ve had good results using a mixture recommended by Don Tipping, owner of Siskiyou Seeds: nine-parts compost, one-part sand or crushed pumice, and about a cup of azomite rock mineral and crushed eggshells.
The rule of thumb for sowing seeds is to sow them twice as deep as the width of the seed. Ghafari recommends sowing 2-3 seeds per cell for “seed insurance” and thinning out extra seedlings as needed. Some very tiny seeds don’t need to be covered (check the seed packet), but most seeds should be covered with a bit more growing medium, then pressed down gently, spritzed with water (let tap water sit for 24 hours before using), and covered with a humidity dome. Don’t forget to add labels with the name of the plant and the sowing date.
Ghafari recommends using lights immediately for 16 hours each day; this ensures the seedlings will get enough light as soon as they germinate to prevent them from becoming leggy and weak (this can happen surprisingly fast).
Check the seedlings at least every couple of days and keep the growing medium moist by misting with a spray bottle. Remove the lid after the seeds have germinated and adjust the lights as needed to keep them no more than 2 inches above the seedlings. I also like to rotate the trays every few days.
Once the seeds have germinated, keep the medium moist by bottom watering — pour the water directly into the bottom tray and check after 30 minutes to make sure all of the water has been absorbed. Keep in mind that overwatering is one of the leading culprits of seed-starting failure.
Ghafari provides a helpful chart with recommendations for how many seeds to sow in each cell, whether or not to thin or separate to a single seedling in a cell or pot, and which plants need potting up to a larger container (such as tomatoes, peppers, and squash). Seedlings that are potted up should be fertilized with an organic fertilizer that’s high in nitrogen (N) and low in phosphorous and potassium (P and K).
Starting seeds is a good time to begin using my online garden journal (https://gardenplanner.territorialseed.com). I can use the calendar page to note that seeds I sow on particular dates, as well as when I water, pot up, fertilize and address any pest issues that arise (Ghafari recommends having yellow sticky traps handy in case of fungus gnats, a common pest problem with indoor growing). I can upload photos into the journal, and I can add notes on weeding, mulching, pruning, and harvesting when gardening outdoors.


2025 Community Choice Awards

-
-
-